Author: Admin

Cheesy Garlic Chicken Wraps Recipe

Ingredients:

(Makes 4 Wraps)

  • For the Wraps:
    • 2 cups cooked, shredded chicken (rotisserie works well)
    • 1 cup shredded mozzarella cheese
    • ½ cup shredded cheddar cheese
    • 3 tablespoons cream cheese, softened
    • 2 tablespoons butter
    • 2 teaspoons minced garlic
    • 1 teaspoon garlic powder
    • ½ teaspoon onion powder
    • Salt and pepper, to taste
    • 4 large flour tortillas
  • Optional Toppings:
    • Baby spinach or arugula
    • Sliced tomatoes
    • Ranch dressing or garlic aioli

Instructions:

  1. Prepare the Garlic Sauce:
    • Melt butter in a small skillet over medium heat. Add minced garlic and sauté for 1-2 minutes until fragrant. Remove from heat and set aside.
  2. Make the Chicken Filling:
    • In a large bowl, mix the shredded chicken, mozzarella, cheddar, cream cheese, garlic butter, garlic powder, onion powder, salt, and pepper until fully combined.
  3. Assemble the Wraps:
    • Place a tortilla on a flat surface and add about ¼ of the chicken mixture to the center. Add any optional toppings like spinach, arugula, or sliced tomatoes. Fold in the sides of the tortilla and roll tightly into a wrap.
  4. Toast the Wraps:
    • Heat a skillet or grill pan over medium heat. Place the wraps seam-side down and toast for 2-3 minutes on each side until golden brown and crispy.
  5. Serve:
    • Slice each wrap in half and serve warm. Pair with ranch dressing, garlic aioli, salsa, or your favorite dipping sauce.

Variations

Filling Variations

  1. Protein Alternatives:
    • Swap shredded chicken with turkey, pulled pork, or grilled shrimp for a different protein.
    • Use a plant-based protein like jackfruit, tofu, or tempeh for a vegetarian option.
  2. Cheese Options:
    • Replace mozzarella with provolone, Swiss, or pepper jack for a unique flavor.
    • Add Parmesan or feta for extra tanginess.
  3. Add Veggies:
    • Incorporate sautéed mushrooms, bell peppers, or caramelized onions into the filling for added texture and flavor.
    • Use roasted broccoli or zucchini for a healthier twist.
  4. Spice It Up:
    • Add diced jalapeños, red pepper flakes, or a splash of hot sauce for a spicy kick.

Tortilla Variations

  1. Tortilla Types:
    • Use whole wheat, spinach, or tomato basil tortillas for a flavored wrap.
    • Swap flour tortillas with gluten-free or low-carb options if needed.
  2. Non-Tortilla Options:
    • Use large lettuce leaves for a low-carb alternative.
    • Wrap the filling in pita bread or flatbread for a different texture.

Serving Variations

  1. Breakfast Wraps:
    • Add scrambled eggs and crumbled bacon to the filling for a breakfast version.
  2. Mexican-Inspired Wraps:
    • Mix in taco seasoning, black beans, and corn. Serve with salsa and guacamole.
  3. Mediterranean Twist:
    • Include hummus, cucumbers, and olives for a Mediterranean-inspired wrap.

Tips

Preparation Tips

  1. Make Ahead:
    • Prepare the filling in advance and store it in the refrigerator for up to 3 days. Assemble and toast wraps when ready to serve.
  2. Keep Tortillas Soft:
    • Warm tortillas in the microwave or oven briefly to make them easier to roll without cracking.
  3. Don’t Overfill:
    • Avoid overstuffing the wraps to prevent them from falling apart while toasting.

Cooking Tips

  1. Even Toasting:
    • Use medium heat and press gently with a spatula for an even golden crust.
  2. Avoid Burning:
    • Keep an eye on the wraps as they toast; they can brown quickly.

Serving Tips

  1. Pair with Dips:
    • Serve with marinara, honey mustard, or tzatziki for more dipping options.
  2. Side Suggestions:
    • Pair with a side salad, sweet potato fries, or roasted veggies for a complete meal.

These variations and tips let you customize the wraps to suit different tastes while ensuring a flavorful and satisfying meal!

Enjoy!
Read More

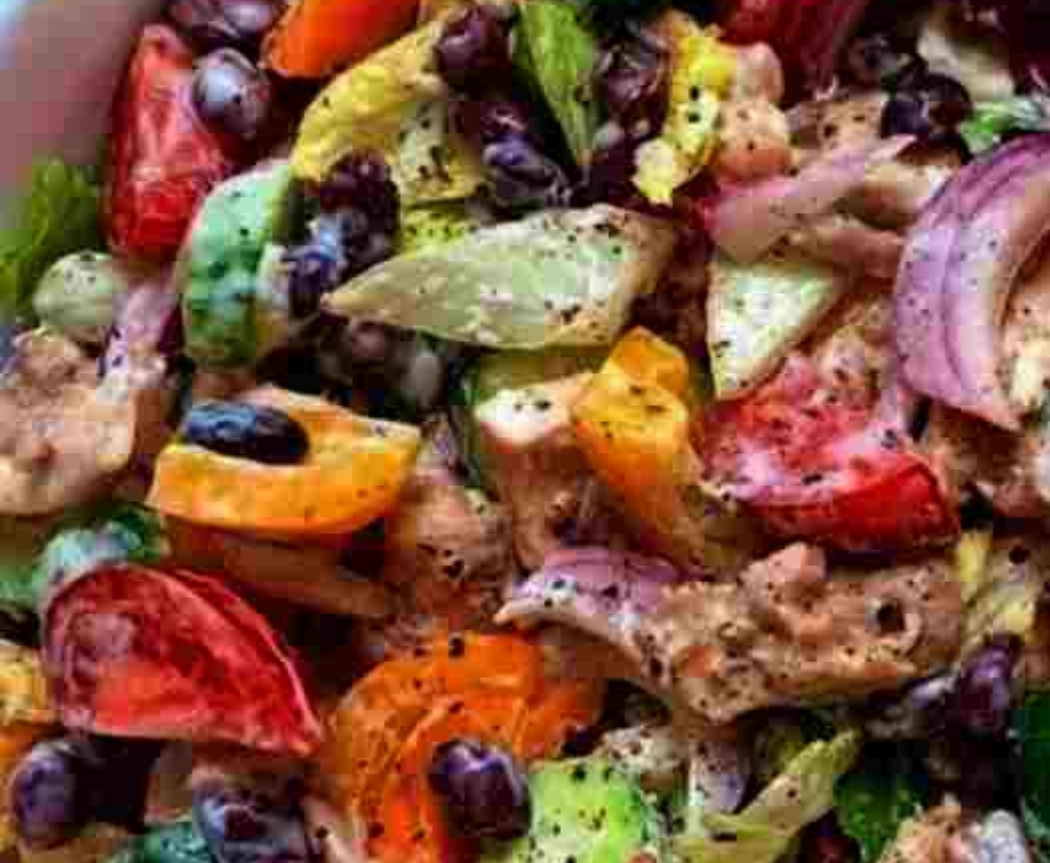
Chicken and Vegetable Salad with Creamy Dressing

Ingredients:

To prepare this chicken and vegetable salad, you will need the following:

For the Salad:
Chicken breast (2 pieces): Grilled or cooked and sliced into bite-sized pieces.
Black beans (1 cup, canned): Drained and rinsed for added protein.
Cucumber (1 large): Sliced thinly for a refreshing crunch.
Bell peppers (2, mixed colors): Chopped, preferably one yellow and one orange for vibrant color.
Cherry tomatoes (1 cup): Halved for a juicy burst.
Red onion (1 small): Thinly sliced for sharpness.
Lettuce leaves (2-3 cups): Torn into bite-sized pieces, using a mix of greens like romaine, iceberg, and radicchio for color and texture.
For the Creamy Dressing:
Mayonnaise (1/4 cup): The base of the creamy dressing.
Greek yogurt (1/4 cup): Adds creaminess with a hint of tang.
Lemon juice (1 tablespoon): For a refreshing citrus kick.
Dijon mustard (1 teaspoon): Adds depth and slight tang to the dressing.
Garlic powder (1/2 teaspoon): For added flavor.
Salt and pepper: To taste.
Preparation Method:
Step 1: Prepare the Chicken
Cook the chicken: If you haven’t pre-cooked the chicken, season the chicken breasts with salt, pepper, and a little olive oil. Grill or pan-fry them until fully cooked (about 6-7 minutes per side, depending on thickness). Let the chicken rest for a few minutes, then slice it into bite-sized strips or cubes.
Step 2: Prepare the Vegetables
Chop the vegetables: Slice the cucumbers, chop the bell peppers, halve the cherry tomatoes, and thinly slice the red onion. Tear the lettuce into bite-sized pieces, ensuring you have a nice mix of colors and textures.
Rinse the black beans: Drain and rinse the canned black beans under cold water and set aside to dry.
Step 3: Make the Creamy Dressing
Mix the dressing: In a small bowl, combine the mayonnaise, Greek yogurt, lemon juice, Dijon mustard, garlic powder, and a pinch of salt and pepper. Whisk together until smooth and creamy. Adjust the seasoning to taste.
Step 4: Assemble the Salad
Toss the vegetables: In a large salad bowl, combine the chopped vegetables (lettuce, cucumbers, bell peppers, cherry tomatoes, and red onion). Add the rinsed black beans.
Add the chicken: Toss the cooked chicken into the salad mixture, ensuring it’s evenly distributed.
Dress the salad: Pour the creamy dressing over the salad and toss gently to coat all the ingredients evenly. Make sure the dressing is distributed well but don’t over-toss to avoid wilting the lettuce.
Step 5: Serve
Garnish and serve: Add a little freshly ground black pepper on top for garnish and serve immediately.
Variations:
Vegetarian Option: Replace the chicken with grilled tofu or roasted chickpeas for a plant-based protein alternative.
Extra Toppings: Add sliced avocado for creaminess, or sprinkle feta cheese or shredded cheddar for added richness.
Spicy Twist: Add some sliced jalapeños or a dash of hot sauce to the dressing for a spicy kick.
Tips for the Best Salad:
Use fresh ingredients: The crunch of fresh vegetables makes all the difference in a salad. Make sure your lettuce and vegetables are crisp and vibrant.
Customize the dressing: If you want a lighter version, you can use more Greek yogurt and less mayonnaise, or add a splash of olive oil for a smoother texture.
Serve immediately: Salads are best served fresh after being tossed with dressing to preserve their crispness.
Serving Suggestions:
This chicken and vegetable salad can be served as a main course for a light lunch or dinner, or as a side dish to accompany grilled meats or seafood.
Serve it with a slice of crusty bread or garlic bread for a more filling meal.
It can also be stored in the fridge (without the dressing) and assembled just before serving for meal prep or lunchboxes.
Conclusion:
This chicken and vegetable salad is a vibrant, nutritious, and versatile dish that’s perfect for any meal. The combination of juicy grilled chicken, crisp vegetables, and creamy dressing makes it a satisfying and flavorful option that’s easy to make. Whether you’re serving it as a light meal or a side dish, this salad is sure to be a hit with its fresh ingredients and balanced flavors.

Enjoy!

Read More

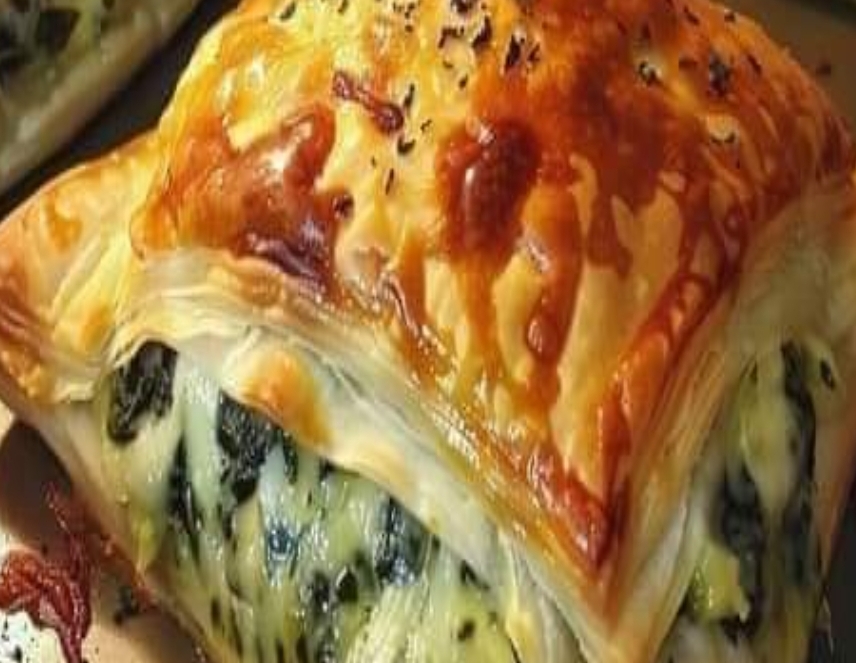
Spinach Stuffed Pastry

Spinach Stuffed Pastry

Ingredients:

  • 1 sheet puff pastry, thawed
  • 2 cups fresh spinach, chopped
  • 1 cup feta cheese, crumbled
  • 1 small onion, finely chopped
  • 2 cloves garlic, minced
  • 1 tablespoon olive oil
  • 1 egg, beaten
  • Salt and pepper to taste
  • Sesame seeds (optional)

Directions:

  1. Preheat oven to 375°F (190°C).
  2. In a skillet, heat olive oil over medium heat. Add onion and garlic, and sauté until translucent.
  3. Add chopped spinach to the skillet and cook until wilted. Season with salt and pepper. Remove from heat and let cool slightly.
  4. Roll out puff pastry on a floured surface and cut into squares (approximately 4×4 inches).
  5. In a bowl, mix the cooked spinach with feta cheese.
  6. Place a spoonful of the spinach mixture in the center of each pastry square.
  7. Fold the pastry over to form triangles, sealing the edges with a fork.
  8. Brush the tops with beaten egg and sprinkle with sesame seeds if desired.
  9. Bake for 20-25 minutes, or until the pastries are golden brown.

Enjoy!

Read More

Delicious Tater Tot Pizza

Delicious Tater Tot Pizza

Ingredients:

1 bag (32 oz) frozen tater tots
1 cup pizza sauce
2 cups shredded mozzarella cheese
1/2 cup pepperoni slices
1/4 cup green bell pepper, diced
1/4 cup black olives, sliced
1 teaspoon Italian seasoning
1/2 teaspoon garlic powder
Fresh basil leaves for garnish (optional)

Instructions:

Preheat your oven to 425°F (220°C) and grease a large pizza pan or baking sheet.
Arrange the frozen tater tots in a single layer on the pizza pan. Press down on them gently to form a compact crust.
Bake the tater tot crust for 25-30 minutes, or until golden and crispy.
Remove the crust from the oven and spread the pizza sauce evenly over the tater tots.
Sprinkle shredded mozzarella cheese on top, followed by pepperoni slices, green bell pepper, and black olives.
Season the pizza with Italian seasoning and garlic powder.
Return the pizza to the oven and bake for an additional 10-12 minutes, or until the cheese is melted and bubbly.
Garnish with fresh basil leaves, slice, and serve hot.
Prep Time: 10 minutes
Cooking Time: 40 minutes
Total Time: 50 minutes
Kcal: 420 kcal per serving
Servings: 6 servings

Enjoy!

Read More

Baked Cauliflower Tastes Better Than Meat! Crispy Roasted Cauliflower

Cauliflower has transcended its reputation as a bland, overlooked vegetable and emerged as a culinary superstar, especially when roasted to perfection. My Crispy Roasted Cauliflower recipe is a testament to the versatility and deliciousness of this humble vegetable. Infused with Italian herbs and Parmesan, this dish promises a crispy, flavorful experience that rivals any meat dish. Whether you are a dedicated vegetarian or simply looking to add more vegetables to your diet, this recipe will win you over with its crispy texture and rich, savory taste.

Ingredients:

Main Ingredients:

  • 1 head of cauliflower
  • 3 slices of lemon
  • A handful of dill
  • 1 1/4 cups panko breadcrumbs
  • 1 clove of minced garlic
  • 3/4 cup all-purpose flour
  • 3 eggs
  • 5 tbsp olive oil
  • 1 tsp Italian herbs
  • A handful of chopped parsley
  • 1 cup grated Parmesan cheese
  • Salt, to taste
  • Ground black pepper, to taste

Sauce:

  • 3/4 cup sour cream
  • 1/2 cup yogurt
  • Freshly chopped parsley
  • Salt and ground black pepper
  • Lemon juice

Instructions:

Step 1: Prepare the Cauliflower

Start by cutting the cauliflower into florets. Bring a pot of salted water to a boil and add the lemon slices, a handful of dill, and the cauliflower florets. Boil for five minutes, then drain and set aside. This step helps to infuse the cauliflower with subtle flavors and tenderize it slightly before roasting.

Step 2: Prepare the Coating Mixture

In a large mixing bowl, combine the panko breadcrumbs, minced garlic, olive oil, Italian herbs, salt, ground black pepper, chopped parsley, and grated Parmesan cheese. Mix until well combined. This breadcrumb mixture will give the cauliflower its irresistible crispy coating.

Step 3: Coat the Cauliflower

Set up a dredging station with a plate of all-purpose flour, a bowl of whisked eggs, and the bowl of breadcrumb mixture. Dredge each cauliflower floret first in the flour, then dip it in the whisked eggs, and finally coat it in the breadcrumb mixture. Ensure each piece is evenly coated for maximum crispiness.

Step 4: Bake the Cauliflower

Place the coated cauliflower florets on a parchment-lined baking tray. Preheat your oven to 350°F (175°C) and bake for 20 minutes, or until the cauliflower is golden brown and crispy. The aroma of the herbs and Parmesan will fill your kitchen, making it hard to wait for the finished product.

Step 5: Prepare the Sauce

While the cauliflower is baking, prepare the sauce. In a small bowl, combine the sour cream, yogurt, freshly squeezed lemon juice, chopped parsley, salt, and ground black pepper. Mix well. This creamy, tangy sauce complements the crispy cauliflower perfectly, adding a refreshing contrast to each bite.

Step 6: Serve and Enjoy

Once the cauliflower is done baking, remove it from the oven and let it cool slightly. Serve the crispy roasted cauliflower with the prepared sauce. Garnish with extra parsley if desired. Enjoy this delicious, meat-free dish that is sure to impress both vegetarians and meat-lovers alike.

Nutrition Information

Per Serving:

  • Calories: 220
  • Protein: 10g
  • Carbohydrates: 25g
  • Dietary Fiber: 3g
  • Sugars: 3g
  • Fat: 10g
  • Saturated Fat: 3g
  • Cholesterol: 75mg
  • Sodium: 320mg
  • Vitamin A: 8% DV
  • Vitamin C: 70% DV
  • Calcium: 20% DV
  • Iron: 10% DV

Conclusion

This Crispy Roasted Cauliflower recipe is a delightful alternative to traditional meat dishes. The combination of herbs, Parmesan, and a crispy breadcrumb coating makes it a standout dish that will leave you craving more. Perfect for a weeknight dinner or as a side dish for a special occasion, this recipe is sure to become a favorite in your household.

Enjoy!

Read More

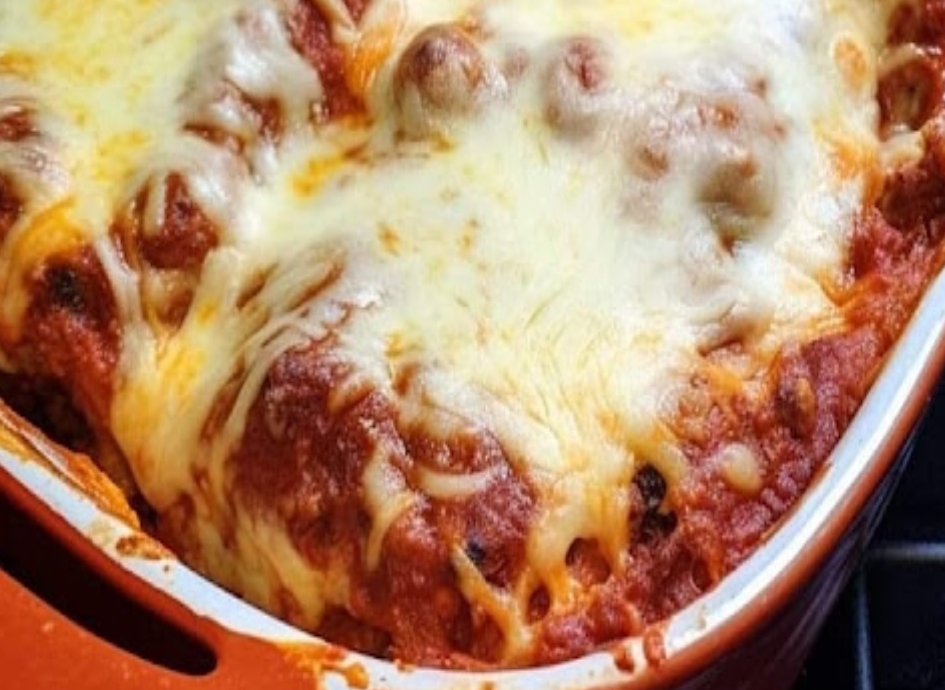
Best Mexican Lasagna Ever

Mexican Lasagna Recipe

Our Mexican Lasagna recipe is made with layer upon layer of spectacular south-of-the-border flavors. A drool-worthy dish with just enough heat to wake up your taste buds, you will surely beat the picky palates in your house with this fabulous casserole that takes 15 minutes of prep and 15 minutes to bake. A favorite of adults and kids alike, it is sure to be a member of the clean plate club at your house too!

Make sure you print the recipe; you are going to want to hold onto this one!

It is amazing, easy to make, and it freezes extraordinarily well!

Either wrap individual portions in plastic wrap and then place in a freezer bag, or divide recipe between 2 smaller casserole dishes and freeze one (freeze it uncooked, then just defrost, cook, and enjoy!).

I live with the pickiest of picky eaters: my meat and potatoes husband, and my picky 7-year-old who never likes the same thing 2 days in a row.

While we rarely eat the same meals during the day, dinner is our time for the family to gather together, break bread, and catch up on the day’s events. Dinner is the meal that brings us together.

Ingredients:

  • 1 pound lean ground beef
  • 1 tablespoon olive oil
  • 1/2 small yellow onion, grated or finely chopped
  • 2 teaspoons smoked paprika
  • 1 teaspoon cumin
  • 1 tablespoon New Mexico chile powder
  • 1 teaspoon kosher salt
  • 1/2 teaspoon black pepper
  • 1 (14.5 oz) can fire roasted diced tomatoes
  • 1 (15 oz) can black beans, rinsed and drained
  • 1 1/2 cups frozen sweet corn
  • 1 (4 oz) can fire roasted diced green chiles
  • 1 (10 oz) can enchilada sauce (or our homemade enchilada sauce)
  • 12 8” large flour tortillas
  • 8 ounces Pepperjack cheese, shredded
  • 4 ounces Colby Jack cheese, shredded
  • 6 oz can sliced olives, drained
  • 2 scallions, finely chopped
  • 2 tablespoons chopped cilantro

Preparation:

  1. Preheat oven to 425°F.
  2. Drizzle olive oil into a large skillet over medium-high heat. Add beef, onion, paprika, cumin, chili powder, salt, and pepper to skillet. Brown beef for about 5-7 minutes. Add tomatoes, beans, and corn. Stir to combine. Allow to cook while you begin preparing the baking pan.
  3. Smooth about 1/3 of the enchilada sauce over the bottom of a 9×13 baking pan. Lay tortillas on the bottom of the pan, slightly overlapping until pan is covered (about 4 tortillas).
  4. Spoon half of the beef mixture over the tortillas, spreading it evenly. Layer tortillas on top of the beef mixture. Smooth about 1/3 of the enchilada sauce over the tortillas. Sprinkle 1/2 of each of the cheeses on top. Scatter the green chiles over the cheese. Add the remaining beef mixture and spread it evenly. Layer tortillas on top of the beef mixture. Spoon remaining enchilada sauce over tortillas. Sprinkle remaining cheese on top of the tortillas. Garnish the top with olives and scallions.
  5. Bake for 10-15 minutes, until cheese is melted and lasagna is warmed through. Remove from oven and sprinkle with cilantro.

Enjoy!

Read More

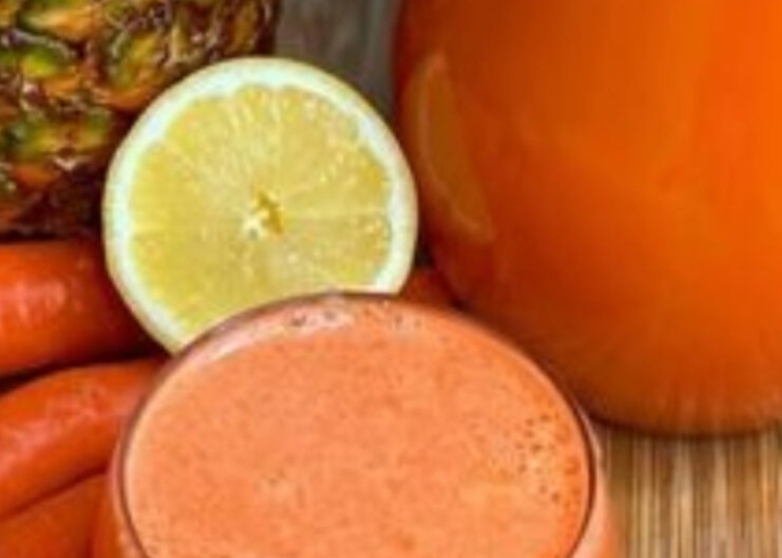
Boost Your Immune System with Homemade Juice

Looking for a delicious and natural way to give your immune system a boost? Look no further than this homemade immune-boosting juice! Packed with vitamins, antioxidants, and anti-inflammatory properties, this vibrant concoction is sure to keep you feeling healthy and energized all day long. Let’s dive into how you can whip up the perfect pineapple, turmeric, carrot, and lemon juice right in your own kitchen!

  1. Pineapple Power
    Start by selecting a ripe pineapple and cutting it into chunks. Pineapple is not only sweet and delicious but also rich in vitamin C, bromelain, and other antioxidants that support immune function and promote overall health. It’s like a tropical treat for your immune system!
  2. Turmeric Touch
    Add a teaspoon of ground turmeric to your pineapple chunks. Turmeric is renowned for its anti-inflammatory and antioxidant properties, thanks to its active compound, curcumin. By incorporating turmeric into your juice, you not only add a warm, earthy flavor but also an extra immune-boosting punch. Cheers to good health!
  3. Carrot Craze
    Next, throw in a couple of peeled carrots for a dose of beta-carotene, vitamin A, and other essential nutrients. Carrots not only add natural sweetness to the juice but also provide additional immune support and promote healthy vision and skin. It’s time to go orange for your immune system!
  4. Lively Lemon
    Squeeze the juice of one fresh lemon into the mixture to add a zesty kick and a boost of vitamin C. Lemon juice not only enhances the flavor of the juice but also helps alkalize the body and support detoxification. Get ready for a tangy twist and a vibrant immune boost!
  5. Blend and Enjoy
    Transfer the pineapple, turmeric, carrot, and lemon into a blender, and add a splash of water or coconut water to help facilitate blending. Blend until smooth and well combined, adding more liquid as needed to reach your desired consistency. This is your masterpiece in the making!
  6. Strain (Optional)
    If you prefer a smoother juice, you can strain the mixture through a fine-mesh sieve or cheesecloth to remove any pulp or fibers. Alternatively, you can enjoy the juice as is for added fiber and texture. The choice is yours!
  7. Serve and Sip
    Pour your homemade immune-boosting juice into a glass, add some ice cubes if desired, and garnish with a slice of lemon or a sprig of fresh mint. Sip and savor the delicious flavors while nourishing your body from the inside out. It’s like a refreshing vacation for your taste buds!

Conclusion
With its vibrant colors, refreshing taste, and powerful immune-boosting properties, homemade pineapple, turmeric, carrot, and lemon juice is the perfect way to support your health and vitality naturally. Incorporate this delicious beverage into your daily routine to keep your immune system strong and your taste buds satisfied! It’s time to raise a glass to good health!

Enjoy!

Read More

Pepper Jelly Cheese Dip

Ingredients:

  • 8 oz cream cheese, softened
  • 1 cup shredded sharp cheddar cheese (or Monterey Jack for a milder flavor)
  • 1/2 cup sour cream
  • 1/4 teaspoon garlic powder
  • 1/4 teaspoon black pepper
  • 1/2 cup red pepper jelly (plus extra for garnish)
  • 2 tablespoons chopped green onions (optional, for garnish)

Instructions:

Step 1: Preheat the Oven

Preheat your oven to 375°F (190°C).Lightly grease a small baking dish or pie plate.

Step 2: Prepare the Cheese Mixture

In a mixing bowl, combine the cream cheesecheddar cheesesour creamgarlic powder, and black pepper.Mix well until smooth and creamy.

Step 3: Assemble the Dip

Spread the cheese mixture evenly into the prepared baking dish.Spoon the pepper jelly over the top, spreading it evenly to create a glossy layer.

Step 4: Bake

Bake in the preheated oven for 15–20 minutes, or until the dip is bubbly and heated through.

Step 5: Garnish and Serve

Remove the dip from the oven and let it cool slightly.Garnish with chopped green onions, if desired.Serve warm with crackers, toasted baguette slices, or fresh veggies for dipping.

Why You’ll Love This Recipe

Sweet and Spicy: The combination of creamy cheese and tangy pepper jelly is irresistible.Quick and Easy: Requires just a few ingredients and minimal prep time.Crowd-Pleaser: Perfect for parties, potlucks, or game days.

Pro Tips

Use Different Jellies: Try this recipe with jalapeño jelly, apricot preserves, or cranberry jelly for a unique twist.Add Heat: For an extra kick, sprinkle a pinch of red pepper flakes into the cheese mixture.Make Ahead: Assemble the dip up to 1 day in advance, cover, and refrigerate. Bake just before serving.

Storage and Reheating

Refrigerate: Store leftovers in an airtight container for up to 3 days.Reheat: Warm in the oven at 300°F (150°C) or microwave until heated through.This Pepper Jelly Cheese Dip is the ultimate blend of creamy, sweet, and spicy flavors. It’s sure to be the hit of any event—serve it up and watch it disappear! 🌶️🧀✨

Enjoy!

Read More

Easy Hamburger Casserole Recipe

Ingredients:

1 (1lb) box medium pasta shells
1lb ground beef
2 (10oz) cans tomato soup
2 cups shredded cheddar
1 cup shredded mozzarella
1/2 cup water
Garlic, salt & pepper to taste

Bars de caramelo caseros

Cheeseburger Cake Recipe

Amish Hamburger Steak Bake

Air Fryer Cheeseburger Egg Rolls

Instructions:

Cook and drain the pasta according to the package directions.
Meanwhile, preheat your oven to 375°F and grease a 9×13 baking dish.
In a large skillet, brown and chop the ground beef with garlic powder, salt, and pepper (or any seasoning of your choice).
Add the cooked pasta, tomato soup, 1/2 cup of water, and HALF of the cheese to your skillet with the browned beef. Stir and cook for 2-3 minutes over medium heat.
Pour the mixture into your greased dish and top with the remaining cheese.
Cover with foil and bake for 20 minutes. Uncover and continue baking for an additional 10 minutes. (Optional: Turn the broiler on for the last 2-3 minutes to brown the cheese.)
Serve immediately and store any leftovers in the fridge for up to 3 days.

Enjoy!

Read More

Ham and Cheese Sticks

Ingredients:

  • 12 eggroll wrappers 7 inch
  • 12 slices honey ham thinly sliced
  • 12 Mozzarella Sticks (string cheese)
  • Olive Oil
  • garlic salt

Instructions:

  • Preheat oven to 350F.
  • Line a baking sheet with parchment paper.
  • Lay an eggroll wrap down in a diamond shape and place a slice of ham in the middle. Place one mozzarella stick in the middle of the ham. Fold in the sides of the wrapper into the cheese and then roll up the entire wrapper to create eggroll shape. Place on baking sheet seam side down.
  • Brush each stick lightly with olive oil and sprinkle with garlic salt to taste.
  • Bake for 12-15 minutes or until browned to your liking (you might want to check them with a couple minutes left as all ovens are different). Remove from the oven and turn the sticks. Place back in the oven for 4-5 more minutes or until browned.
  • Serve with dipping sauce of your choice.

Enjoy!

Read More