Author: Admin

You don’t want to lose this recipe. My friend who doesn’t even like shrimp, loves this dish!

Ingredients

2 pounds of large shrimp, peeled and deveined

2 tablespoons of olive oil

1 tablespoon of Cajun seasoning

1 teaspoon of sweet paprika

1/2 teaspoon of garlic powder

1/2 teaspoon of onion powder

1/2 teaspoon of dried thyme

1/2 teaspoon of dried oregano

1/4 teaspoon of cayenne pepper, or to taste

1/4 teaspoon of red pepper flakes

Juice of 1 lemon

Salt and black pepper, to taste

Parsley, chopped for garnish

Lemon wedges, for serving

Tin foil

Preparation

Preheat and Prep: Begin by heating your oven to 375 degrees Fahrenheit. As your oven warms, toss the shrimp with olive oil, Cajun seasoning, paprika, garlic powder, onion powder, thyme, oregano, cayenne pepper, and red pepper flakes in a bowl.

Assemble the Packet: Lay a large piece of tin foil on a flat surface, and place the seasoned shrimp in the center. Drizzle with lemon juice, then season with salt and pepper to your liking. Seal the edges of the foil, creating a packet that holds in all the flavors.

Bake: Place the foil packet on a baking tray and bake in the oven for 15-20 minutes, or until the shrimp are pink and cooked through.

Serve with Care: Let the packet rest a moment after removing it from the oven. Then, carefully open it to release the aromatic steam, garnish with parsley, and serve with lemon wedges on the side.

Serving Suggestions:

Complement this spicy dish with a side of creamy coleslaw or a refreshing cucumber salad to balance the heat. A side of buttery corn on the cob or crusty garlic toast makes for delightful accompaniments, perfect for soaking up the succulent juices.

Variations & Tips:

Add More Veggies: Feel free to include corn on the cob pieces or diced potatoes in the foil packet for a more filling meal.

Adjust the Heat: Tailor the amount of cayenne and red pepper flakes to suit your spice tolerance.

Sweeten the Deal: Introduce sliced bell peppers for a hint of sweetness and a splash of color.

Cooking to Perfection: Keep an eye on your shrimp to avoid overcooking; tender shrimp is the goal.

This Baked Cajun Shrimp recipe is not just about savoring the flavors; it’s about embracing the spirit of southern hospitality and the warmth of shared experiences. So, don your favorite apron, gather your loved ones, and prepare to indulge in a dish that’s as heartwarming as it is delicious. Happy cooking!

Enjoy!

Read More

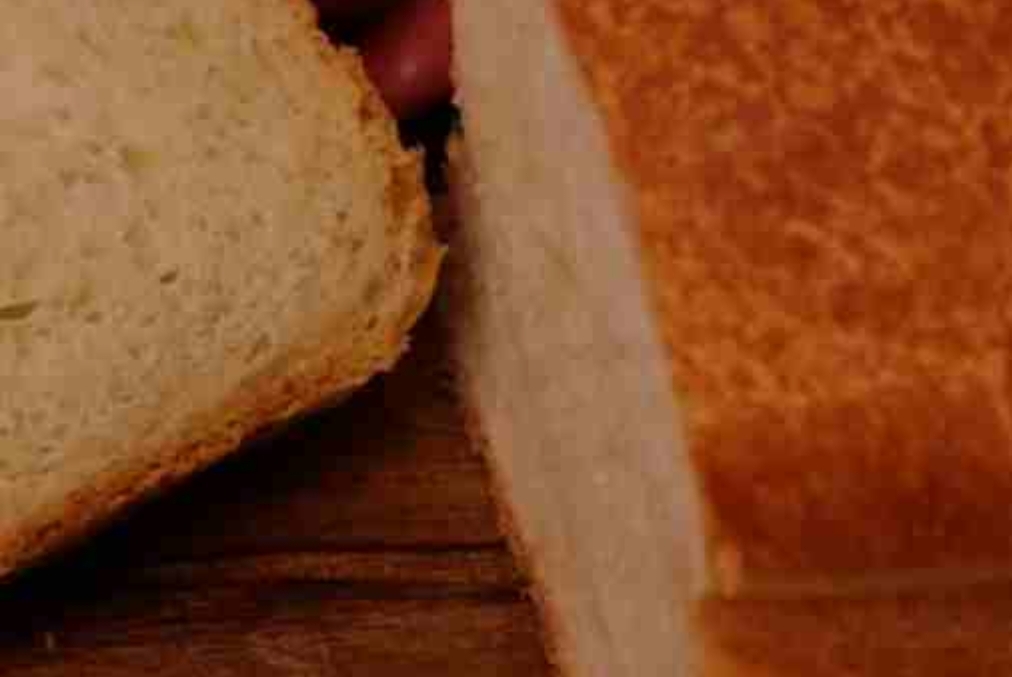
American Bread

Preparation Time:

  • Prep Time: 20 minutes
  • Rising Time: 2 hours 40 minutes
  • Cook Time: 30-40 minutes
  • Total Time: 3 hours 30 minutes
  • Yield: Makes 2 loaves

Ingredients:

  • 800 grams of flour
  • 2 teaspoons salt
  • 2 tablespoons sugar
  • 10 grams dry yeast
  • 500 ml warm water
  • 30 ml
  • Sunflower oil (for greasing)
  • Milk (for brushing)
  • Additional flour (for dusting)

Instructions:

  • Prepare the Dry Ingredients:
    • Sift the flour through a sieve into a large mixing bowl to soften the bread.
    • Add the salt, sugar, and dry yeast to the flour. Mix well to combine the dry ingredients.
  • Add the Wet Ingredients:
    • Gradually add the warm water and to the dry ingredients.
    • Mix and knead the dough until it becomes smooth and elastic. This should take about 10 minutes.
  • First Rise:
    • Grease a bowl with sunflower oil and place the dough in it. Cover with a damp cloth or plastic wrap.
    • Let the dough rise in a warm place for about 2 hours, or until it has doubled in size.
  • Prepare the Dough for Baking:
    • Punch down the dough to release the air.
    • Knead the dough briefly and then divide it into two equal parts.
    • Shape each part into a loaf and place them in greased rectangular loaf pans.
  • Second Rise:
    • Cover the dough and let it rise in a warm place for another 30-40 minutes, or until the dough has risen just above the top of the pans.
  • Bake the Bread:
    • Preheat your oven to 200°C (392°F).
    • Brush the tops of the loaves with a mixture of milk and olive oil to help them brown and create a crispy crust.
    • Bake the bread for 30-40 minutes, or until the tops are golden brown and the bread sounds hollow when tapped.
  • Cool and Serve:
    • Remove the bread from the oven and let it cool in the pans for a few minutes.
    • Transfer the loaves to a wire rack to cool completely before slicing.

Serving Suggestions:

  • Perfect for making sandwiches or toast.
  • Enjoy with butter, jam, or your favorite spread.
  • Serve alongside soups or salads.

Cooking Tips:

  • Ensure the water is warm, not hot, to activate the yeast without killing it.
  • For a softer crust, cover the bread with a clean cloth while it cools.

Nutritional Benefits:

  • Provides carbohydrates for energy.
  • Contains essential nutrients from yeast and flour.

Dietary Information:

  • Vegetarian

Storage:

  • Store the bread in an at room temperature for up to 3 days.
  • For longer storage, freeze the bread in a freezer-safe bag for up to 3 months. Thaw at room temperature before serving.

Why You’ll Love This Recipe:

  • Simple ingredients and easy-to-follow steps.
  • Soft, fluffy bread with a crispy crust.
  • Versatile and perfect for various uses.

Enjoy!

Read More

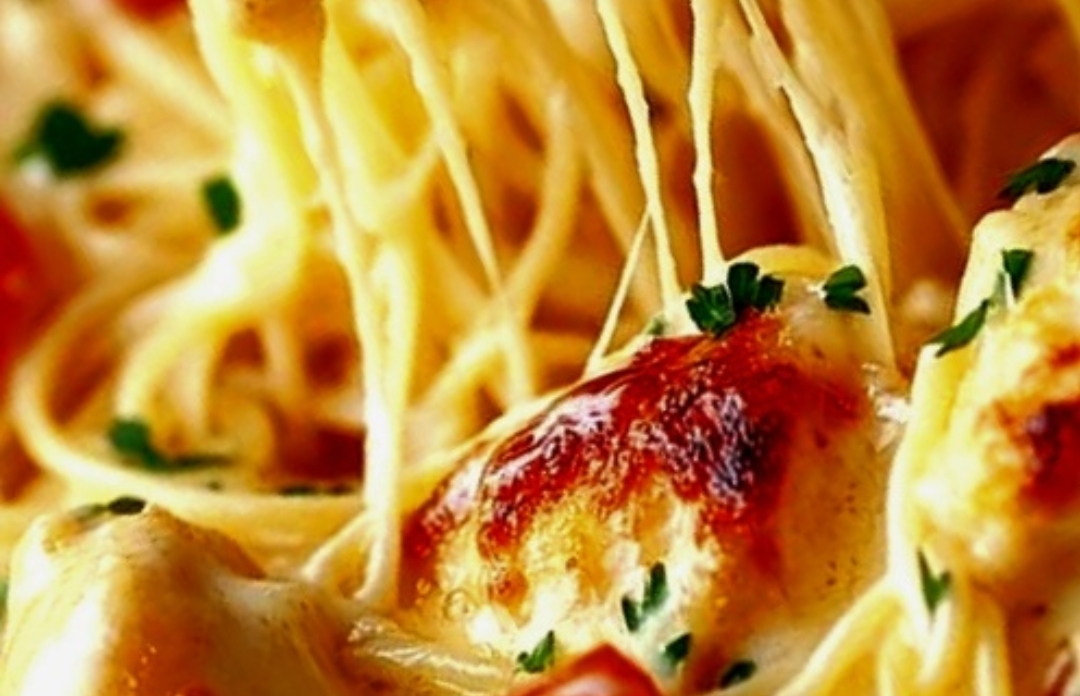
One-Pot Chicken Parmesan Pasta

Ingredients:

1 pound boneless, skinless chicken breasts, cut into 1-inch pieces
1 pound pasta (penne, rotini, or ziti)
1 jar (24 ounces) marinara sauce
1 cup shredded mozzarella cheese
1/2 cup grated Parmesan cheese
1/4 cup chopped fresh basil
1/4 teaspoon red pepper flakes (optional)
Salt and pepper to taste

Instructions:

Cook the Chicken: In a large pot or Dutch oven, cook the chicken over medium-high heat until browned. Season with salt and pepper.
Add Pasta and Sauce: Add the pasta, marinara sauce, and 2 cups of water to the pot. Stir to combine.
Simmer: Bring to a boil, then reduce heat and simmer, covered, for 10-12 minutes, or until the pasta is cooked al dente.
Add Cheese and Herbs: Stir in the mozzarella cheese, Parmesan cheese, and red pepper flakes. Cook for an additional 2-3 minutes, or until the cheese is melted and the sauce is thickened.
Serve: Garnish with fresh basil and serve immediately.
Enjoy your delicious one-pot chicken parmesan pasta! See less See less

Enjoy!

Read More

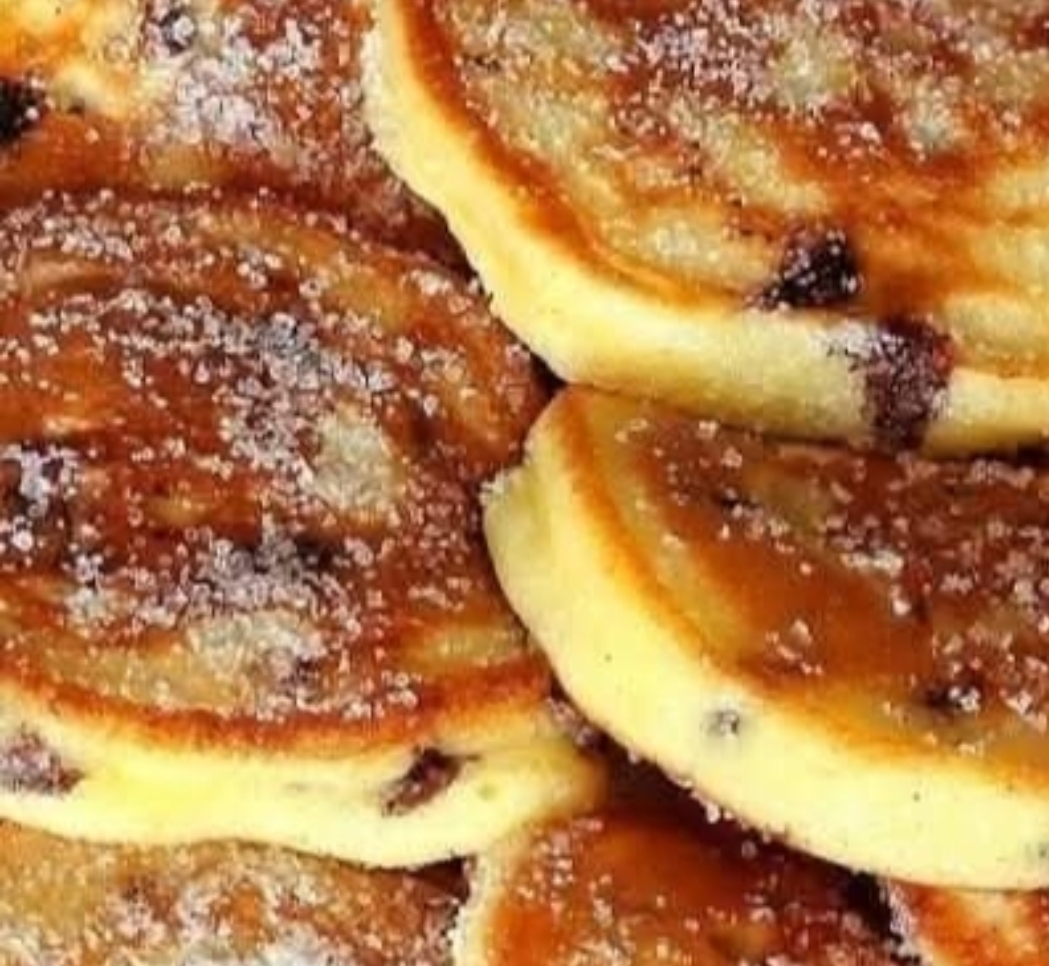
Chocolate Chip Yogurt Cake (No Oven Needed)

Ingredients:

  • 1 egg
  • 3 tbsp sugar (45 g)
  • 1 sachet (8 g) vanilla sugar
  • 3 tbsp oil (45 ml)
  • 125 g (½ cup) yogurt
  • 60 ml (¼ cup) milk
  • 190 g (1 ½ cups) flour
  • 10 g (2 tsp) baking powder
  • 50 g (¼ cup) chocolate chips

Instructions:

Mix the Wet Ingredients:

  • In a bowl, whisk 1 egg with 3 tbsp sugar and 8 g vanilla sugar until well combined.
    • Add 3 tbsp oil, 125 g yogurt, and 60 ml milk. Whisk until smooth.
  • Combine Dry Ingredients:
    • In another bowl, sift together 190 g flour and 10 g baking powder.

Prepare the Batter:

  • Gradually add the dry ingredients to the wet mixture, stirring until smooth and lump-free.
  • Fold in the chocolate chips.

Cook the Cake:

  • Grease a non-stick pan with a bit of oil and preheat over low heat.
  • Pour the batter into the pan and spread it evenly. Cover with a lid.
    • Cook on low heat for 20 minutes, or until a toothpick inserted in the center comes out clean.
  • Cool and Serve:
    • Remove the cake from the pan and let it cool slightly.

Slice and serve as is or with a dusting of powdered sugar.

  • Serve warm with a scoop of vanilla ice cream or whipped cream.
  • Pair with a cup of tea or coffee for a delightful snack.
  • Drizzle with chocolate syrup or sprinkle powdered sugar for added sweetness.

Cooking Tips

  • Use a heavy-bottomed pan with a lid for even cooking.
  • Keep the heat low to prevent burning.
  • Substitute chocolate chips with raisins, nuts, or dried fruits for variety.

Nutritional Benefits

  • Yogurt: Provides calcium and probiotics for bone and gut health.
  • Egg: Offers protein and essential vitamins.
  • Chocolate Chips: Adds antioxidants and a touch of indulgence.

Dietary Information

  • Contains dairy, eggs, and gluten.
  • Vegetarian-friendly.

Nutritional Facts (Per Slice – Approx. 8 slices):

Enjoy!

Read More

Homemade Cherry Pie Bars

CasaHomemade Cherry Pie Bars
Homemade Cherry Pie Bars

Bars de tarta de cereza caseros

Author: Sally Getting ready Duration: 30 minutes Preparing food. Time needed: 1 hour (includes making the filling) The entire time, including the time to cool down, is 4 hours and 30 minutes. Result: 16 measures
This cherry pie recipe saves you from the hassle of making a pie crust from the beginning! The filling for this recipe can be made with either frozen or fresh sour cherries, and it can be cooked quickly on the stove. The crust and crumble topping are made from the same batter prepared in one pan. Almond frosting on top adds a delicious final touch to enhance the flavor. Make sure the baked goods are completely cool before adding frosting and cutting them.

Ingredients for the crust and topping.

1.5 cups (188g) of all-purpose flour, measured by spooning and leveling. Paraphrased: 1.5 cups (188g) of all-purpose flour, measured by spooning and leveling.
1 cup of old-fashioned whole rolled oats, which is 85 grams, and 2 tablespoons, which is 11 grams, separated.
0.5 cups, which is equal to 100 grams. Use either packed light or dark brown sugar.
1 teaspoon of baking powder
1 teaspoon of grated lemon peel
One-eighth of a teaspoon of salt
10 tablespoons of melted butter without salt, which is equivalent to 142 grams.
1 teaspoon of pure vanilla extract
Finishing Touch of Cherries
1.5 tablespoons is the same as 11 grams. Maicena
3.5 cups (525g) of frozen sour cherries, do not thaw.
Half a cup (100g) of white sugar
1 teaspoon of freshly squeezed lemon juice
A quarter teaspoon of almond flavoring
Icing made with almonds (optional).
1 cup of powdered sugar, which weighs 120 grams.
2 tablespoons of milk

A quarter teaspoon of almond flavoring
Cooking Mode Turn off the automatic screen timeout to avoid your screen going dark.

Enjoy!

Read More

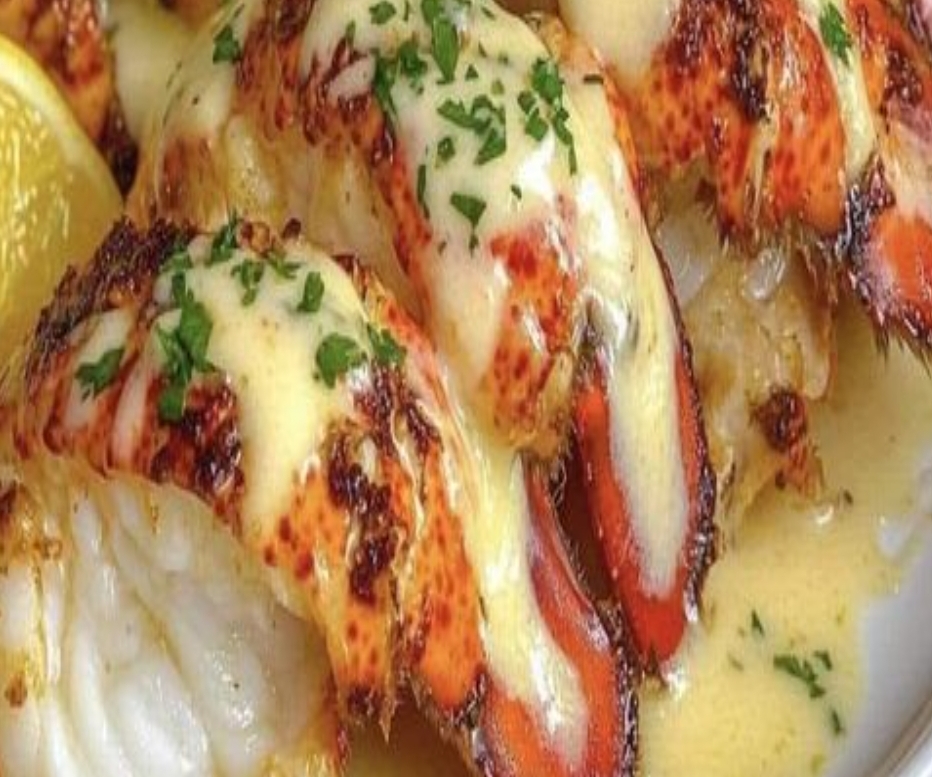
Creamy Garlic Butter Lobster Tails

Creamy Garlic Butter Lobster Tails 🦞🧄

Ingredients:

  • 4 lobster tails
  • 4 tbsp butter
  • 4 cloves garlic, minced
  • 1 cup heavy cream
  • 1/2 cup Parmesan cheese, grated
  • 1 tbsp olive oil
  • 1 tsp lemon juice
  • Salt and pepper to taste
  • Fresh parsley, chopped (for garnish)

Instructions:

  1. Preheat the oven: Preheat your oven to 375°F (190°C). Carefully split the lobster tails in half lengthwise.
  2. Cook the lobster: Heat olive oil in a skillet over medium heat. Place the lobster tails cut-side down and cook for 2-3 minutes until the shells turn red.
  3. Flip and bake: Flip the lobster tails, add 2 tbsp butter, and baste with the melted butter. Transfer the skillet to the oven and bake for 8-10 minutes.
  4. Make the garlic butter sauce: In a separate pan, melt the remaining butter and sauté the garlic until fragrant.
  5. Create the sauce: Pour in the heavy cream, bring it to a simmer, and stir in the Parmesan cheese until the sauce thickens.
  6. Assemble and serve: Drizzle the garlic butter sauce over the lobster tails and finish with a squeeze of lemon juice. Garnish with chopped parsley and serve.

Notes:

  • Serve over pasta or with a side of steamed vegetables for a complete meal.
  • Adjust the amount of garlic based on your preference.

Prep Time: 10 mins | Cooking Time: 20 mins | Total Time: 30 mins | Servings: 4

Enjoy!

Read More

Garlic Butter Steak Bites and Creamy Mashed Potatoes

Ingredients:

For the Steak Bites:

  • 1 1/2 pounds steak (sirloin, ribeye, or tenderloin, cut into 1-inch cubes)
  • 2 tablespoons olive oil
  • 3 tablespoons unsalted butter
  • 4 garlic cloves, minced
  • 1 teaspoon fresh thyme leaves (or 1/2 teaspoon dried thyme)
  • 1/2 teaspoon smoked paprika (optional)
  • Salt and black pepper, to taste

For the Mashed Potatoes:

  • 2 pounds potatoes (Yukon gold or Russet, peeled and cubed)
  • 1/4 cup unsalted butter
  • 1/2 cup heavy cream (or milk for a lighter option)
  • 2 garlic cloves, minced (optional)
  • Salt and black pepper, to taste
  • Fresh parsley, chopped (for garnish)

Instructions:

Step 1: Prepare the Mashed Potatoes

  1. Boil Potatoes: Place the cubed potatoes in a large pot of salted water. Bring to a boil and cook for 15–20 minutes, or until fork-tender.
  2. Mash Potatoes: Drain the potatoes and return them to the pot. Add butter, heavy cream, and garlic (if using). Mash until smooth and creamy.
  3. Season: Add salt and pepper to taste. Cover and keep warm.

Step 2: Cook the Steak Bites

  1. Season Steak: In a bowl, toss the steak cubes with salt, pepper, and smoked paprika (if using).
  2. Sear Steak: Heat olive oil in a large skillet over medium-high heat. Add the steak cubes in a single layer, cooking for 1–2 minutes per side until browned. Work in batches if necessary to avoid overcrowding. Remove the steak and set aside.
  3. Make Garlic Butter Sauce: In the same skillet, reduce heat to medium. Add butter, minced garlic, and thyme. Cook for 1–2 minutes, stirring, until the garlic is fragrant.
  4. Coat Steak: Return the steak bites to the skillet and toss them in the garlic butter sauce. Cook for another 1–2 minutes to coat and warm through.

Step 3: Assemble and Serve

  1. Plate the Dish: Spoon a generous portion of mashed potatoes onto each plate. Top with the garlic butter steak bites.
  2. Garnish: Sprinkle with fresh parsley for a pop of color and added flavor.

Why You’ll Love This Recipe

  • Quick and Easy: Ready in under 30 minutes for a satisfying meal.
  • Rich and Flavorful: The garlic butter sauce brings out the best in the steak.
  • Comfort Food Classic: Creamy mashed potatoes make this dish irresistibly indulgent.

Pro Tips for Success

  1. Room Temperature Steak: Let the steak sit at room temperature for 15 minutes before cooking for even searing.
  2. Don’t Overcrowd the Pan: Cook steak in batches to ensure a perfect sear.
  3. Customize: Add a splash of lemon juice or a pinch of red pepper flakes to the butter sauce for extra flavor.

Serving Suggestions

  • Pair with roasted asparagus, sautéed spinach, or a crisp green salad for a balanced meal.
  • Enjoy with a glass of red wine to complement the rich flavors.

Storage and Reheating

  • Refrigerate: Store leftovers in an airtight container for up to 3 days.
  • Reheat: Warm steak bites in a skillet over low heat, adding a bit of butter to prevent drying. Reheat mashed potatoes in the microwave or on the stovetop with a splash of milk.

This Garlic Butter Steak Bites and Mashed Potatoes recipe is perfect for any occasion, from weeknight dinners to special celebrations. Its irresistible flavors and comforting textures will have everyone asking for seconds! 🧄🥩✨

Enjoy!

Read More

Cheesesteak Tortellini in Rich Provolone Sauce

IngredientsFor the Tortellini:1 lb cheese tortellini (fresh or frozen)1 tablespoon olive oilFor the Cheesesteak Filling:1 lb thinly sliced beef steak (such as ribeye or sirloin)1 tablespoon olive oil1 large onion, sliced1 green bell pepper, slicedSalt and pepper to tasteFor the Provolone Sauce:2 tablespoons butter2 tablespoons all-purpose flour2 cups milk1 cup shredded provolone cheeseSalt and pepper to tastePreparationCook the tortellini:Cook the tortellini according to package instructions until al dente. Drain and toss with 1 tablespoon of olive oil to prevent sticking. Set aside.Prepare the cheesesteak filling:In a large skillet, heat 1 tablespoon of olive oil over medium-high heat.Add the sliced beef, onion, and green pepper. Cook, stirring frequently, until the beef is browned and the vegetables are tender. Season with salt and pepper. Set aside.Make the provolone sauce:In a saucepan, melt butter over medium heat. Whisk in flour to form a roux. Gradually add milk, whisking continuously to prevent lumps.Continue cooking until the sauce thickens. Reduce heat to low and stir in shredded provolone cheese until melted and smooth. Season with salt and pepper.Combine and serve:Combine the cooked tortellini, cheesesteak filling, and provolone sauce in the skillet. Toss gently to coat the tortellini and filling evenly with the sauce.Heat through, then serve immediately, garnished with additional provolone if desired.Prep Time: 15 minutes | Cooking Time: 30 minutes | Total Time: 45 minutes | Servings: 4 servingsEnjoy!

Enjoy!

Read More

Classic Vanilla Butter Cake with Buttermilk Sauce

Ingredients:

For the Cake:
3 tablespoons melted butter
2/3 cup sugar
4 large eggs, at room temperature, lightly cooled
2 teaspoons vanilla extract or vanilla puree
3 cups all-purpose flour
1 teaspoon baking soda
1/2 teaspoon baking powder
1/2 teaspoon salt
1 cup buttermilk
For the Buttermilk Sauce:
1 cup sugar
1/4 cup (60 ml) cubed butter
1/4 cup water
1/4 teaspoon vanilla extract

Instructions:

1. Prepare the Cake Batter
In a large mixing bowl, beat the sugar and melted butter together until light and fluffy.
Add the eggs, one at a time, beating well after each addition until fully incorporated.
Mix in the vanilla extract, ensuring the mixture is smooth and fragrant.
In a separate bowl, whisk together the flour, baking soda, baking powder, and salt.
Gradually add the dry ingredients to the wet mixture, alternating with the buttermilk. Start and end with the dry ingredients, mixing just until combined. Avoid overmixing for a tender cake.
2. Bake the Cake
Preheat your oven to 350°F (175°C).
Grease a 10-inch baking pan (or bundt pan) with oil or non-stick spray.
Pour the batter into the prepared pan, filling it evenly.
Bake for 55-70 minutes, or until a toothpick inserted into the center comes out clean.
Remove the cake from the oven and allow it to cool for 10 minutes in the pan.
3. Make the Buttermilk Sauce
In a small saucepan over medium heat, combine the sugar, cubed butter, and water.
Stir continuously until the sugar dissolves and the butter melts completely.
Remove the saucepan from heat and mix in the vanilla extract. Be cautious around open flames while stirring.
4. Assemble the Cake
Carefully run a knife around the edges of the pan to release the cake. Invert it onto a wire rack placed over a sheet of waxed paper.
Using a skewer or fork, poke small holes all over the cake.
Drizzle 1/4 cup of the prepared buttermilk sauce over the cake, allowing it to soak in.
Let the cake stand for 15-20 minutes to fully absorb the sauce.
5. Serve and Enjoy
Slice the cake and serve it warm or at room temperature.
Drizzle additional sauce over each slice for an extra decadent experience.
Pair with whipped cream, fresh berries, or a scoop of vanilla ice cream if desired.

Enjoy!

Read More

Cheesy Mashed Potato Puffs

2 cups mashed potatoes (leftover or freshly made)

1 cup shredded cheddar cheese

1/4 cup grated Parmesan cheese

2 large eggs

1/4 cup milk

2 green onions, chopped

Salt and pepper, to taste

Instructions:

Preheat the Oven:

Preheat your oven to 375°F (190°C).

Lightly grease a muffin tin or line with silicone muffin cups.

Prepare the Mixture:

In a large bowl, combine the mashed potatoes, cheddar cheese, Parmesan cheese, eggs, milk, and chopped green onions.

Mix well until the ingredients are fully incorporated. Season with salt and pepper to taste.

Fill the Muffin Tin:

Spoon the mixture into the prepared muffin tin, filling each cup about 3/4 full. Smooth the tops slightly with the back of a spoon.

Bake:

Bake in the preheated oven for 25-30 minutes, or until the tops are golden brown and slightly crispy.

Cool and Serve:

Allow the potato puffs to cool in the tin for 5 minutes before carefully removing them.

Serve warm, garnished with additional chopped green onions if desired.

Tips:

Crispier Edges: For extra crispiness, bake the puffs in a metal muffin tin and let them cool slightly before removing.

Add-Ins: Stir in cooked bacon bits, diced ham, or sautéed vegetables for extra flavor.

Storage: Leftovers can be stored in an airtight container in the refrigerator for up to 3 days. Reheat in the oven or air fryer to restore crispness.

Enjoy your fluffy, cheesy, and golden Mashed Potato Puffs!

Enjoy!

Read More