Jewelry has the remarkable ability to elevate our appearance and make us feel special, but over time, even the most cherished pieces can lose their luster due to dirt, oils, and tarnish. While commercial jewelry cleaners are readily available, they often contain harsh chemicals that can damage delicate gems and metals.
The good news is that you can maintain your jewelry’s brilliance using a simple and effective technique with ingredients you probably already have at home. Say goodbye to store-bought jewelry cleaners and hello to a DIY solution that works wonders.
The DIY Jewelry Cleaning Solution
This technique uses a combination of common household items to create a safe and effective jewelry cleaner. Here’s what you’ll need:
1 tablespoon dish detergent
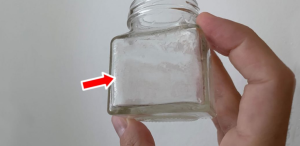
1 tablespoon salt
1 piece of aluminum foil or plastic wrap
1 tablespoon baking soda
1 cup water
A small bowl
Why This Technique Works
1. Salt and Baking Soda: Salt and baking soda are both gentle abrasive agents that help to remove dirt, tarnish, and grime from jewelry surfaces without causing any damage. They work together to break down and dissolve the buildup that accumulates over time, leaving your jewelry sparkling clean.
2. Dish Detergent: Dish detergent is an effective degreaser, cutting through oils and residues that can accumulate on your jewelry. This ingredient is particularly useful for removing oils from your skin, lotions, and other products that might dull your jewelry’s shine.
3. Aluminum Foil: Aluminum foil is a key component of this technique. When combined with the other ingredients and immersed in water, it creates a simple chemical reaction known as ion exchange. This reaction helps to dislodge tarnish and dirt from your jewelry and transfer it to the foil, leaving your jewelry looking revitalized.
4. Water: Water is used to create the solution and facilitate the chemical reaction. It helps to distribute the cleaning agents and ensure they come into contact with the jewelry’s surface.
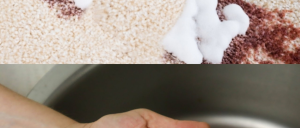
Using the Technique
Read More


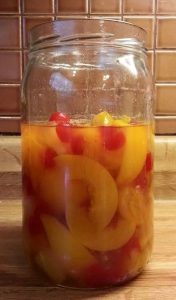
 A delightful infusion of fruits and brandy, perfect for festive treats. Try it alone, over ice cream, or in a delicious Friendship Cake!


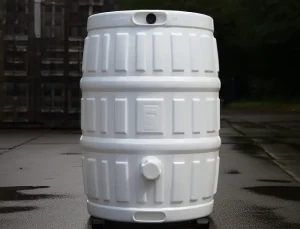


 Elevate your chili game with the rich flavors of beer-infused goodness. Cheers to a hearty and delicious meal!