There’s nothing like seeing the transformation of a dirty greasy stove after a thorough cleaning. I discovered a great and simple cleaning method that I would like to share with you. I first discovered this technique on Jillee’s One Good Thing blog, and it’s been a game-changer ever since.
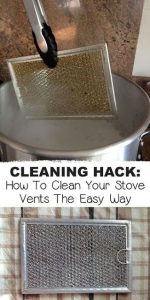
Let’s take a look at the previous state of my filters: an unappetizing sight, isn’t it? The buildup of grease and grime on them made me feel uncomfortable thinking of them flying over my food while I was cooking.
To clean your stove vents, you will need a large saucepan and baking soda. Important tip: If your pans are non-stick, it is recommended to use a stainless steel pan instead. I have one dedicated to this cleaning.
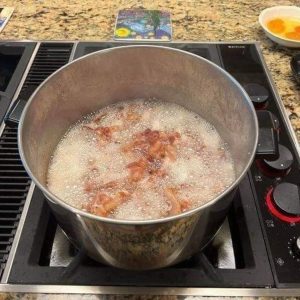
Starting by boiling pot of water. Once it bubbles vigorously, sprinkle baking soda. The exact amount depends on the volume of the water, but don’t be surprised when it starts to fizz – that’s a good sign! Add baking soda slowly to avoid excess. Once it fizzes enough, use tongs to carefully plunge the filters into the jar.
As you can see in these pictures, the water is sloshing around the filters and the grease is starting to come off.


 Let the dust fall naturally:
 Marseille soap and wool product: