Growing coriander at home is a simple and rewarding process, especially when you use a hydroponic method — that is, growing it in just water, without soil. This clean and efficient technique can be ideal for anyone interested in gardening, especially those with limited space or those who want to enjoy fresh herbs with minimal fuss.
In this guide, you’ll learn the straightforward steps to cultivate coriander in your own home using just water, ensuring you’ll always have this fragrant, flavorful herb on hand for your culinary creations.
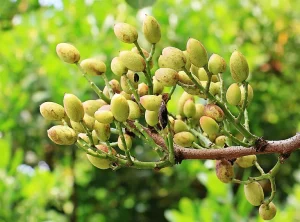
Choosing and Preparing Coriander Seeds
1. Select high-quality coriander seeds. For best results, choose seeds labeled for sprouting or organic seeds, as some seeds may be treated with fungicides that inhibit germination.
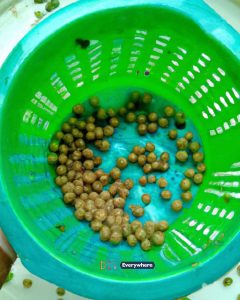
2. Soak the seeds. Place the coriander seeds in a bowl of water and let them soak for 24 to 48 hours. This will soften the outer layer and encourage germination.
3. Split the seeds. After soaking, gently press the coriander seeds between your fingers to split them, as each seed pod contains two seeds. This increases the chance of successful germination.
Setting Up the Growing Container
1. Choose a clear jar or glass. Pick a container deep enough to allow the roots to grow and clear so you can monitor the water level and root growth.
2. Fill the container with water. Use filtered or bottled water to avoid chlorine, which can impede plant growth. Leave about an inch of space at the top.
3. Support the seeds above the water. You’ll need something to hold the seeds just at the water’s surface, such as a seed sprouting tray or a DIY solution like a piece of foam with holes poked in it to hold the seeds.
Germinating the Coriander Seeds
1. Place the split seeds on the support. Arrange the seeds so that they are spread out and each one has access to water.
2. Cover the container. To create a greenhouse effect, cover the container with clear plastic wrap or a plastic lid with holes. This will keep the humidity high and help with germination.
3. Store in a warm spot. Place the container in a warm, well-lit spot, but out of direct sunlight. Coriander seeds germinate best at temperatures between 65°F and 75°F (18°C to 24°C).
Maintaining Your Coriander Water Garden
1. Change the water regularly. Replace the water every few days to maintain oxygen levels and prevent bacterial growth. This is essential for the health of your coriander plants.
2. Provide light. Once the seeds have sprouted, move them to a sunny spot or use a grow light to ensure they get at least 4-6 hours of light each day.
3. Monitor growth. Coriander grows quickly. You may see sprouts in as little as 7 days. Keep an eye on the water level and refill as necessary, still leaving some space for air circulation.
4. Harvest when ready. In a few weeks, your coriander will be tall enough to begin harvesting. Cut the stems carefully above the water level to encourage further growth.
Enjoying Your Harvest
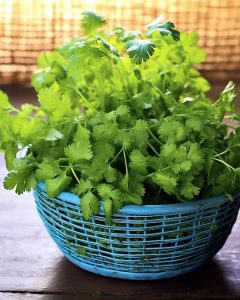
Grasp the joy of clipping fresh coriander directly from your water garden to enhance your dishes. The freshness of home-grown herbs can’t be beaten, and by growing coriander in water, you’ve chosen a path that’s both eco-friendly and gratifying. It’s a simple process to start over, too; just reserve a few coriander plants to go to seed, and you can continue this rewarding cycle indefinitely. Having constant access to fresh coriander that you’ve grown yourself is not only convenient but also a delightful hobby that brings a taste of the garden to your kitchen.